
Here is a truth most nail content creators will not say out loud:
Getting professional nail extensions done every three weeks is expensive. Not ‘ooh that is a bit pricey’ expensive. Actually expensive. In most US cities, a full set of gel extensions runs $60 to $90 before tip. Do that every three weeks for a year and you have spent close to $1,500 just on your nails.
For a long time I told myself it was worth it. Then one day I sat in the salon chair watching my nail tech do something that looked, honestly, pretty simple and I thought: why can I not just learn to do this at home?
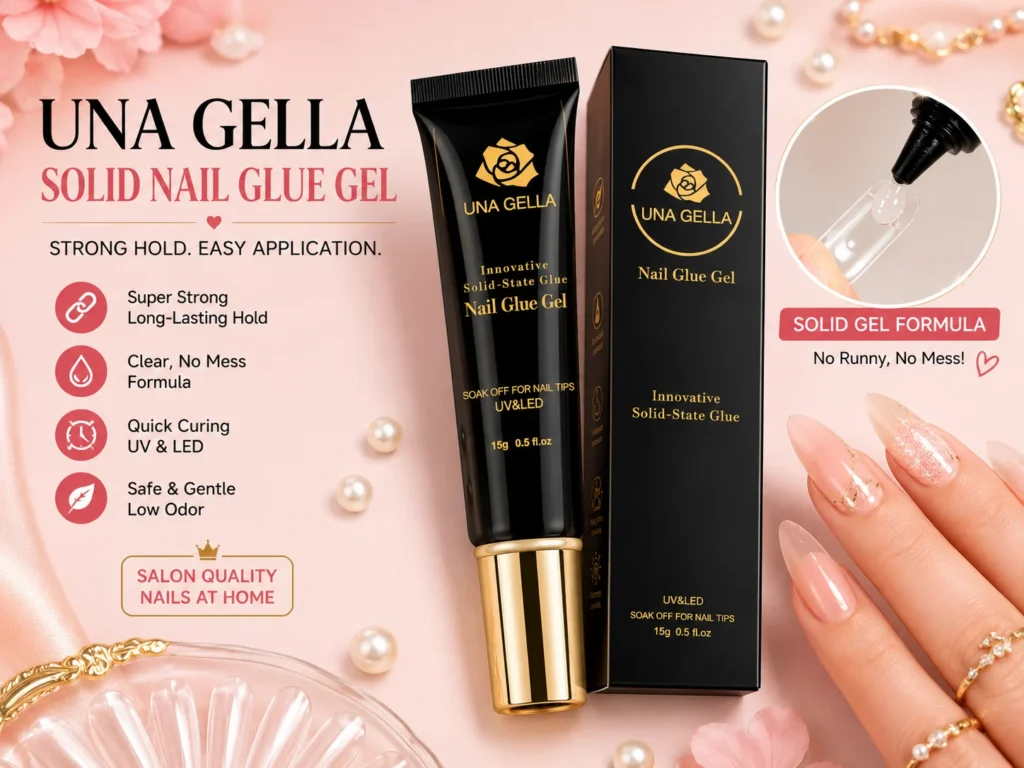
That question sent me down a rabbit hole that ended with a $12 bottle of UNA GELLA Solid Nail Glue Gel sitting on my bathroom counter.
What followed was three weeks of genuine trial and error one spectacular failure, one near-success, and eventually something that genuinely surprised me.
This is the honest account.
Week One: The Disaster Nobody Warns You About
Let me save you from my first mistake immediately.
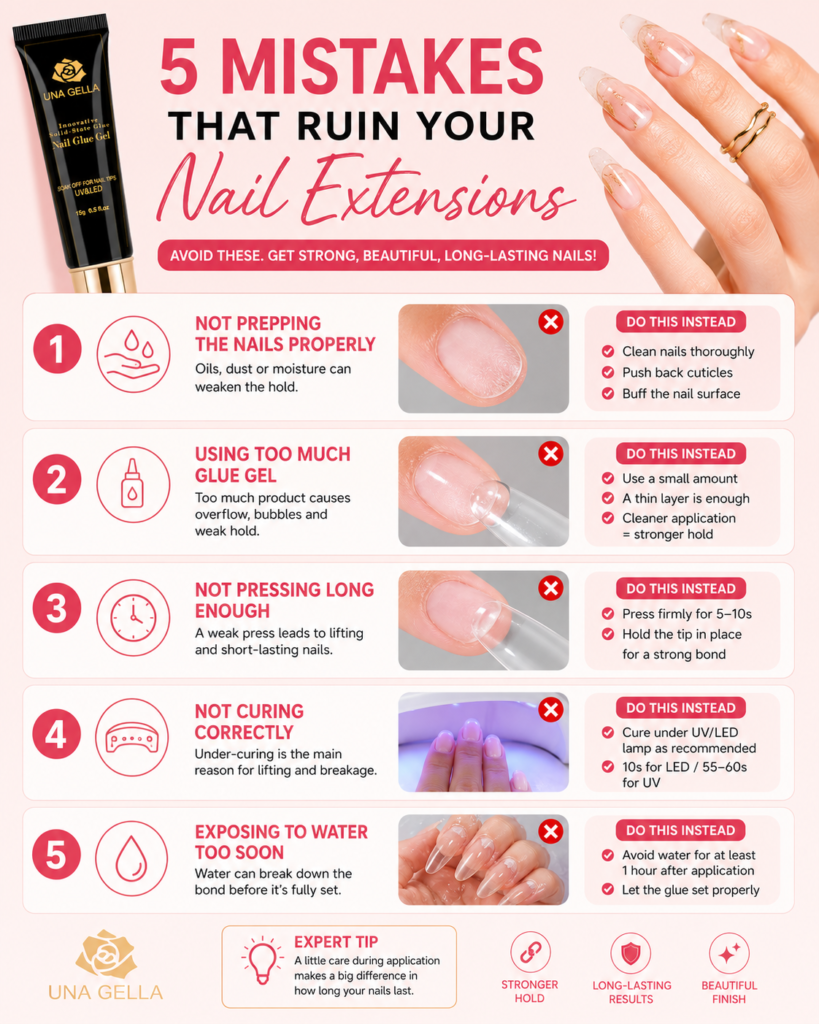
I did not prep my nails properly. I watched a 45-second tutorial, thought it looked easy enough, and skipped the boring preparation steps because I was in a hurry.
Here is what the preparation steps actually do: they remove the natural oils from your nail surface that prevent adhesive from bonding. When you skip them, no glue no matter how strong will hold. The gel tips I applied that first attempt started lifting within 48 hours. Two popped off completely by day three.
I was ready to write the whole thing off as a waste of time.
Then I actually read the instructions.
What UNA GELLA Solid Nail Glue Gel Actually Is
Before I get into what happened in weeks two and three, it is worth explaining what makes this product different from the regular nail glue you find at the drugstore.
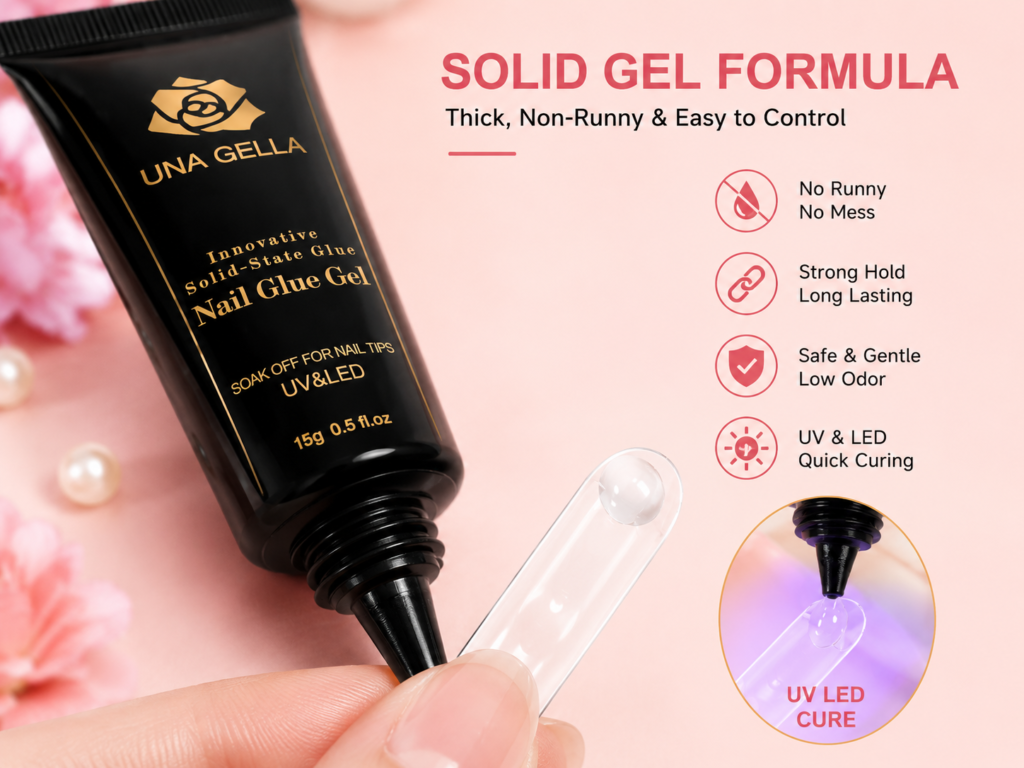
The UNA GELLA Solid Nail Glue Gel is an innovative, low-odor, and non-harmful solution designed for applying soft gel nail tips, fake acrylic nails, and press-ons. This UV/LED curable gel provides super strong adhesion, ensuring long-lasting wear for over 4 weeks.
The key word is UV/LED curable. Regular nail glue is cyanoacrylate the same chemistry as super glue. It air-dries, bonds quickly, and is reasonably strong. But it is not the same as what salons use.
Salon gel extension glue is cured under a UV or LED lamp. The lamp triggers a chemical reaction inside the gel that creates a much stronger, more flexible bond than air-dried glue. The result lasts weeks instead of days and does not get brittle over time.
UNA GELLA’s solid gel glue uses this same chemistry. That is why it requires a lamp — and why skipping the lamp entirely, or under-curing it, is the most common reason people get poor results.
UNA GELLA is a young, but popular nail art brand on Amazon, focusing on nail gel, soft gel tips, nail glue, gel tips nail kit — one of the preferred gel tips brands for starters and professional nail artists.
K18 Leave-In Molecular Repair Hair Mask
The Correct Way to Apply It What I Learned the Hard Way
After my week one disaster, I started over from scratch and did everything by the book. Here is the exact process that finally worked:
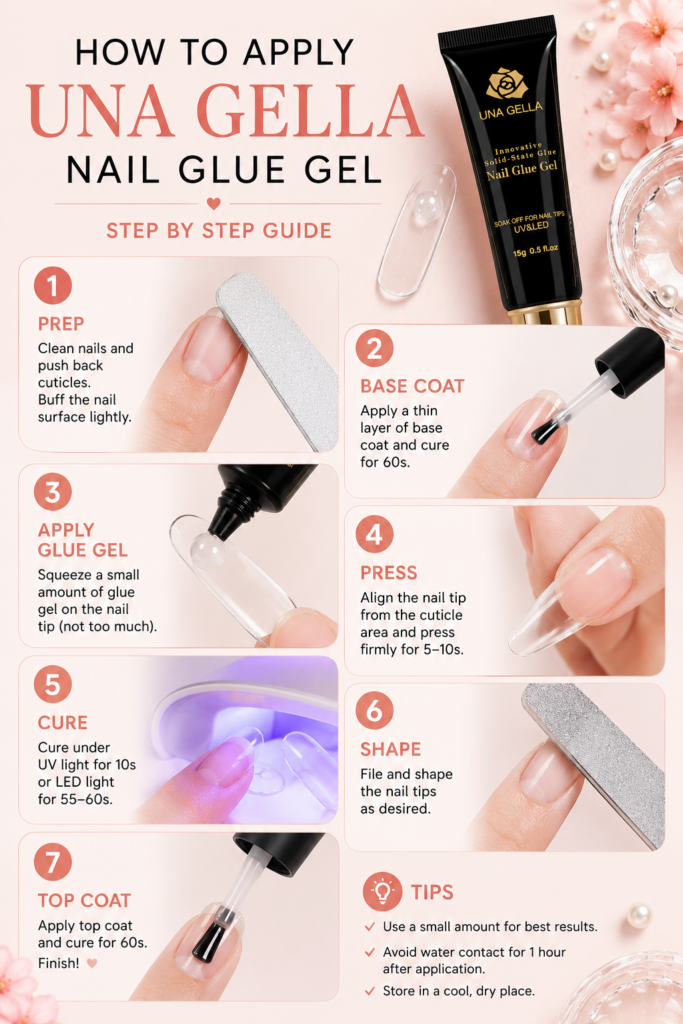
Before you start. What you actually need: A UV or LED nail lamp (any basic one works), a nail buffer, a nail dehydrator or isopropyl alcohol, a base coat, the UNA GELLA gel glue, soft gel nail tips in your size, and a nail file for shaping.
Step 1: Shape and buff your natural nails File your natural nails short and buff the surface lightly. You are creating texture for the glue to grip — smooth nails have nothing to hold onto.
Step 2: Dehydrate thoroughly Wipe each nail with isopropyl alcohol or a nail dehydrator. Wait until completely dry. This step removes oils and is non-negotiable. This is exactly what I skipped in week one.
Step 3: Apply base coat and cure Apply a thin layer of gel base coat to your natural nail. Cure under your LED lamp for 30 to 60 seconds. This creates a foundation layer the glue can bond to.
Step 4: Apply UNA GELLA gel to the nail tip Dispense a small, ample amount of UNA GELLA Solid Nail Glue Gel onto the contact area of the chosen nail tip. The solid gel consistency allows for precise control and no mess.
Less is more here. A thin, even layer covers the contact area. Excess gel squeezes out the sides and creates a messy edge that is hard to clean up after curing.
Step 5: Press and hold Align the tip with your natural nail starting from the cuticle edge. Press firmly and hold for 10 seconds to eliminate any air pockets. Air pockets are the main cause of lifting.
Step 6: Cure under lamp Ensure the gel is fully cured under the UV/LED lamp for the recommended 60 to 90 seconds. Insufficient curing can lead to weak adhesion.
This is the step most beginners rush. Set a timer. A partially cured bond feels strong at first but starts lifting within days.
Step 7: File and shape Once all tips are applied and cured, file to your desired shape. Go slowly — soft gel tips file easily and you can remove more than you intend if you rush.
Step 8: Finish with gel top coat Seal everything with a gel top coat and cure one final time. This protects the tips and gives the finished look.
Week Two: Something Actually Worked
The second attempt with proper prep was a completely different experience.
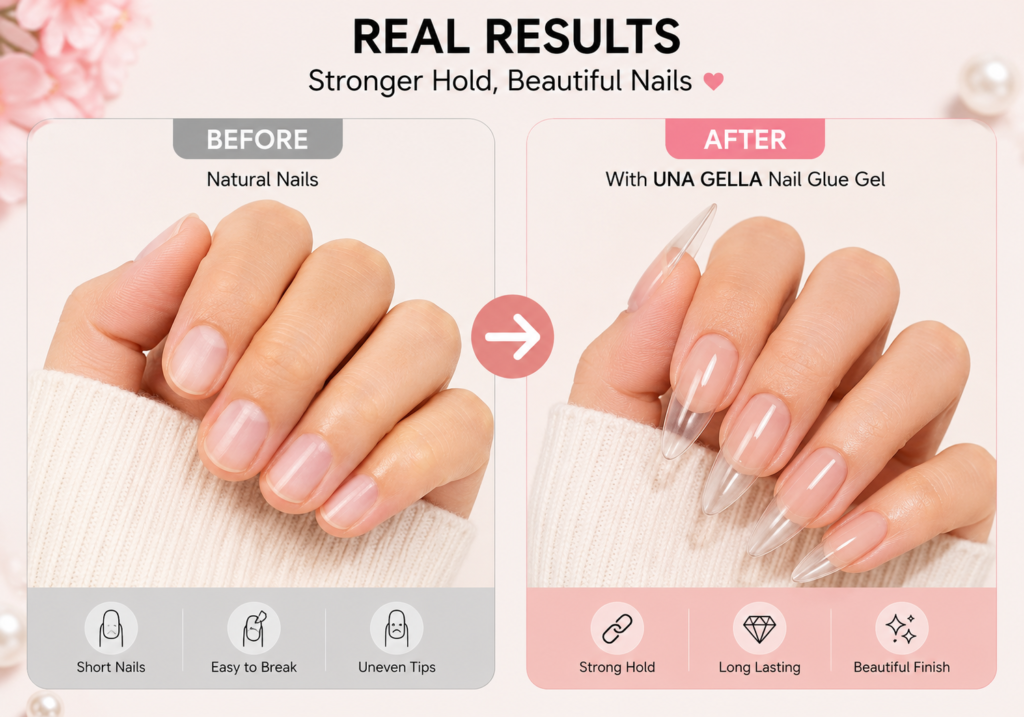
The tips bonded immediately and felt solid. There was no flexing, no wiggling, no early lifting. By day three I had forgotten I was wearing extensions. By day seven my friends were asking where I got my nails done and I told them my bathroom which felt genuinely satisfying.
After curing under the LED lamp, the tips stuck so well it felt like wearing press-ons four weeks later, still flawless and strong.
By day ten, the only issue was that my nails were growing out and the gap at the cuticle was becoming noticeable. This is not a product problem it is just nail biology. Extensions require fills every two to three weeks regardless of what adhesive you use.
What Real Customers Are Saying
I went through hundreds of reviews across Amazon, TikTok, and beauty forums. Here is the honest pattern:
The People Who Love It
On TikTok, users describe UNA GELLA as the holy grail for gel tip extensions. One creator reports her current set had been on for 3.5 weeks with no lifting and no breaks describing the formula as ultra-strong with LED-curing strength for a fast, secure, reliable bond.
Multiple reviewers praise the quick curing process of 40 to 60 seconds as a game changer, noting that the bright clear formula does not yellow over time and has excellent sticking power. Nails have lasted longer than four weeks for many users.
People who do their nails frequently weekly nail art changers, people with active lifestyles describe it as the first at-home option that genuinely keeps up with daily activities including washing dishes, typing all day, and even gym workouts.
The People Who Are Disappointed
One reviewer wore her UNA GELLA nails for about a week and found a couple of nails started to lift towards the end of the week. While easily fixed with a bit more glue, she noted they did not last as long as some salon manicures.
The most consistent theme in negative reviews is the same mistake I made in week one: insufficient nail prep. When nails are not properly dehydrated and base-coated, no gel glue will hold reliably and this product is no exception.
A smaller number of users report the solid gel formula being harder to work with in cold environments the gel becomes slightly stiffer at lower temperatures and requires warming in your hands before use. In warm conditions it is much more manageable.
A few users with longer natural nails note that the tips can flex under pressure at the junction point pressing hard on something like opening a can or peeling tape. This is a soft gel tip characteristic rather than a glue issue, and choosing a slightly shorter tip length helps.
The $12 vs $75 Salon Question Is It Actually Worth It?
Let us do the math honestly.
A professional gel extension set costs $60 to $90 in most US cities, every three weeks. That is approximately $1,040 to $1,560 per year.
UNA GELLA Solid Nail Glue Gel is around $10 to $12 for 15ml. A pack of 500 soft gel tips is around $8 to $12. A basic LED nail lamp, if you do not already have one, is $15 to $25.
Total startup cost including lamp: approximately $35 to $50. Ongoing cost per set (glue and tips): approximately $3 to $5.
The savings are real. But so is the learning curve. My first attempt was a failure. My second was better but not perfect. By my third set I had a process that worked consistently. Three practice sets to get to reliable results is a reasonable investment of time.
The product itself is not the limiting factor your technique is. And technique is learnable.
Who This Product Is Right For And Who Should Skip It
Right fit if you:
- Already have a UV/LED nail lamp or are willing to buy one
- Enjoy DIY beauty and are patient with a learning curve
- Get gel extensions regularly and want to reduce the salon bill
- Have normal to low-activity hands typing, office work, light daily use
- Want extensions that last two to three weeks between fills
Not the right fit if you:
- Do not have and do not want to buy a UV/LED lamp this product does not work without one
- Work with your hands in ways that stress nails heavily construction, frequent manual labor, constant water exposure
- Want zero learning curve and immediate perfect results
- Have a latex or acrylate allergy gel nail products contain acrylates and can cause allergic reactions in some people. Patch test before your first full set.
- Are looking for something that lasts beyond four weeks without any maintenance
The Mistakes That Ruin Your Results In Order of How Often They Happen
Mistake 1: Skipping nail dehydration The number one reason extensions lift early. Oil on the nail surface prevents bonding. Clean, dehydrated nails are the foundation everything else depends on.
Mistake 2: Under-curing Sixty to ninety seconds under the lamp is not a suggestion. An under-cured bond feels fine immediately but starts lifting within days. Use a timer.
Mistake 3: Using too much gel A thin, even layer is all you need. Excess gel creates messy edges and does not improve adhesion — it just creates cleanup work.
Mistake 4: Pressing the tip straight down instead of rolling it on Start at the cuticle edge and roll toward the free edge. This eliminates air pockets that cause lifting. Pressing straight down traps air underneath.
Mistake 5: Filing too aggressively Soft gel tips file quickly. Use a medium-grit file and go slowly, especially when shaping the sidewalls. Remove material gradually rather than trying to get the shape right in one pass.
Mistake 6: Using nails as tools immediately after application Give the bond 24 hours to reach full strength before putting stress on it. Opening packages, peeling stickers, and similar activities in the first few hours put the bond at its most vulnerable.
La Roche-Posay Cicaplast Baume B5
Pros and Cons The Honest Complete List
Pros:
- UV/LED cured bond is significantly stronger than regular air-dry nail glue
- Low odor formula no harsh chemical smell during application
- Solid state prevents mess and allows for precise application
- Clear formula does not yellow over time
- Soak-off formula removable with acetone without harsh mechanical damage
- Works on soft gel tips, press-ons, and acrylic tips
- Beginner-friendly once the correct prep process is learned
- Affordable dramatically cheaper than salon visits
- Compatible with UV gel, gel polish, poly nail gel, builder nail gel, base and top coat
- Amazon best-seller with thousands of positive reviews
Cons:
- Requires UV/LED lamp does not work without one
- Learning curve first attempt often disappointing without proper prep
- Gel becomes stiffer in cold temperatures warm between hands before use
- Tips can flex under heavy stress at the junction point
- Contains acrylates patch test required for those with chemical sensitivities
- Some users find it gets expensive and only lasts about three months when used frequently
- Does not replace professional fills for very long tip lengths
Final Verdict After Three Full Sets
Here is where I landed after three weeks and three full sets of practice:
UNA GELLA Solid Nail Glue Gel does what it says when you use it correctly. The formula is genuinely good. The bond, when properly cured on properly prepped nails, holds for two to three weeks without drama. The low odor is a genuine quality-of-life improvement over regular nail glue. The solid state formula is easier to control than liquid glue alternatives.
The learning curve is real but short. One bad set to understand the prep requirements, one decent set to find the right amount of gel, and by the third set you have a reliable process. That is a reasonable trade for the savings.
If you already have a nail lamp or are willing to buy one, and you are open to spending two or three practice sessions getting the technique right this is one of the better at-home gel extension options on Amazon at the price.
If you want zero learning curve and perfect results the first time book a salon appointment. That is not a dismissal of this product. It is just honesty about what at-home nail art requires.
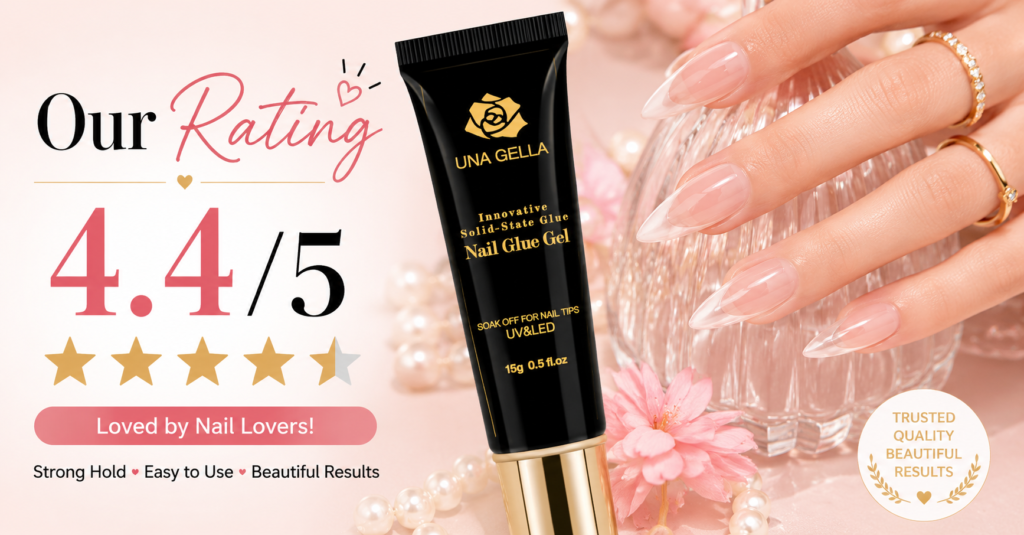
Our rating: 4.4 out of 5
Points deducted for the learning curve that the product description undersells, and the cold-temperature stiffness that catches people off guard in winter. For what it is an affordable, effective, low-odor UV gel adhesive for at-home extensions it earns its place on the Amazon best-seller list.
Quick Reference Table
| Points | Details |
|---|---|
| Best for | At-home gel tip extensions — beginner to intermediate |
| Requires | UV/LED nail lamp — non-negotiable |
| Bond strength | Strong — 2 to 3+ weeks with correct prep |
| Formula | Solid gel, low odor, UV/LED curable, soak-off |
| Contains | Acrylates — patch test if sensitive |
| Cure time | 60 to 90 seconds under LED lamp |
| Works on | Soft gel tips, press-ons, acrylic tips |
| Price | ~$10 to $12 (15ml) |
| Learning curve | Moderate — 1 to 2 practice sets to nail the technique |
| Our rating | 4.4 / 5 |
| 🛒 Buy on Amazon | 👉 Check current price here |
Frequently Asked Questions
Do I absolutely need a UV/LED lamp? Yes without exception. The gel requires light-initiated curing to form a strong bond. Without the lamp, the gel remains soft and the tips will not hold. There is no workaround for this.
What if I do not have a nail lamp? UNA GELLA also makes a no-lamp version of their nail glue look for their “Air Drying” formula on Amazon. It uses a different chemistry and does not require curing. Results are less durable but do not need any equipment.
How do I remove the extensions? The strong adhesion of UNA GELLA Solid Nail Glue Gel can last for more than four weeks. As your natural nails grow, you may need to perform fills or reapply new tips. Soak in acetone to remove. Soak cotton pads in acetone, place on each nail, wrap in foil, and leave for 15 to 20 minutes. The gel will soften and the tips slide off without force.
Can I use it with any brand of soft gel tips? Yes. UNA GELLA gel glue is compatible with soft gel tips from any brand.
Is it safe for natural nails? The soak-off formula is designed to be removed without mechanical damage. The innovation ingredient soak-off formula means no harm to natural nails, and it is surprisingly low odor too. Proper removal technique is important do not force or peel tips off.
What size tips should I buy? Measure from sidewall to sidewall on each finger. Tips should fit snugly without overlapping the skin on either side. Most sets come in 12 sizes — size down if between sizes.